Running the Import
Open Data Import
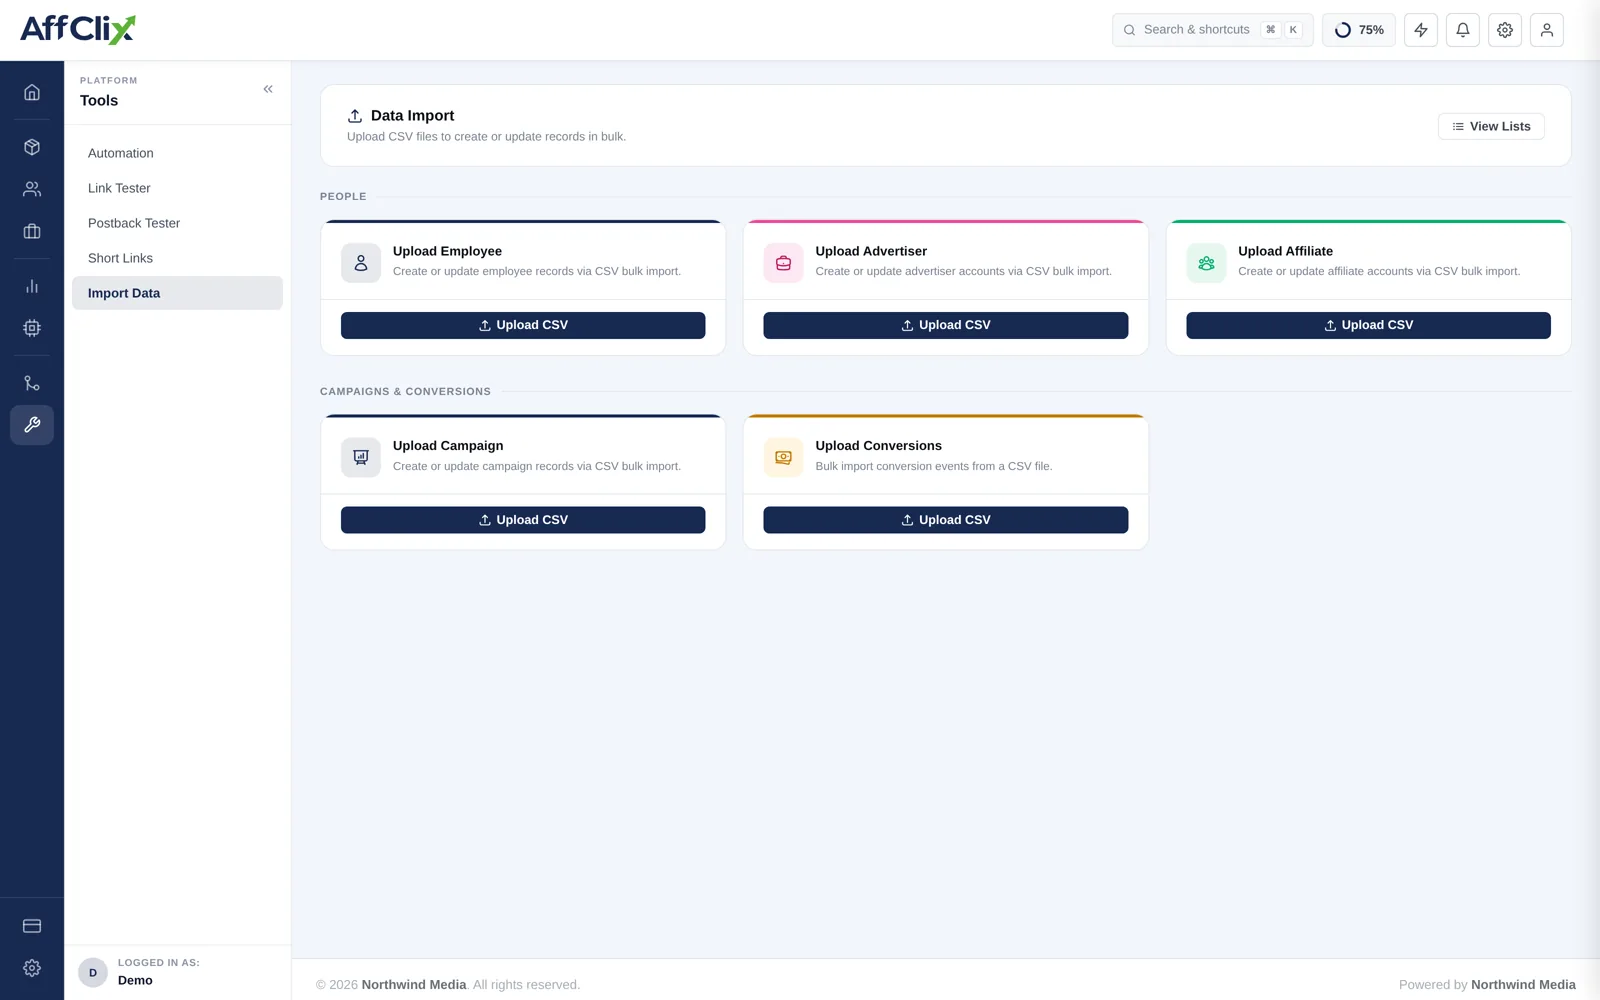
Go to Bulk Import → Data Import and find the Upload Conversions card.
Download the CSV template
It carries the exact column names and order the importer expects. Do not build your own file.
Fill it in, leaving the header row untouched
Save as CSV with UTF-8 encoding.
Trial five rows first
Confirm they import correctly before uploading the full file.
Upload, then review under View Lists
Successful and failed rows are both reported, with a reason per failure.
Column Reference
| Column | Required | Notes |
|---|---|---|
| Click ID | Required | The click this conversion belongs to. Must match a recorded click. |
| Campaign | Required | The campaign the conversion is on. |
| Status | Required | Approved, Pending or Rejected. This decides whether it becomes payable. |
| Transaction / Order ID | Required | The advertiser's unique reference. Prevents double-counting. |
| Revenue | Optional | Overrides the campaign rate for this row. |
| Payout | Optional | Overrides the campaign rate for this row. |
| Sale Amount | Optional | Required for percentage-based payment models. |
| Currency | Optional | Defaults to the campaign currency. |
| Conversion Date | Optional | Defaults to the import time if omitted. |
Rules and Validation
This import creates money
Every row imported as Approved becomes payable to an affiliate and billable to an advertiser. There is no undo that unwinds a payout already settled. Import as Pending, review the result, and approve deliberately.
- A click ID that matches no recorded click fails the row — there is nothing to attribute to.
- A transaction or order ID already present is treated as a duplicate and skipped. This is what protects you from importing the same file twice.
- Conversions outside the campaign's validation window may be rejected.
After the Import
Check the totals in the Conversion Report against the file you uploaded.
Confirm affiliate balances moved by the amount you expected, and no more.
Look for duplicates before approving anything.
Tell affiliates why a backdated batch appeared in their reporting.