Running the Import
Open Data Import
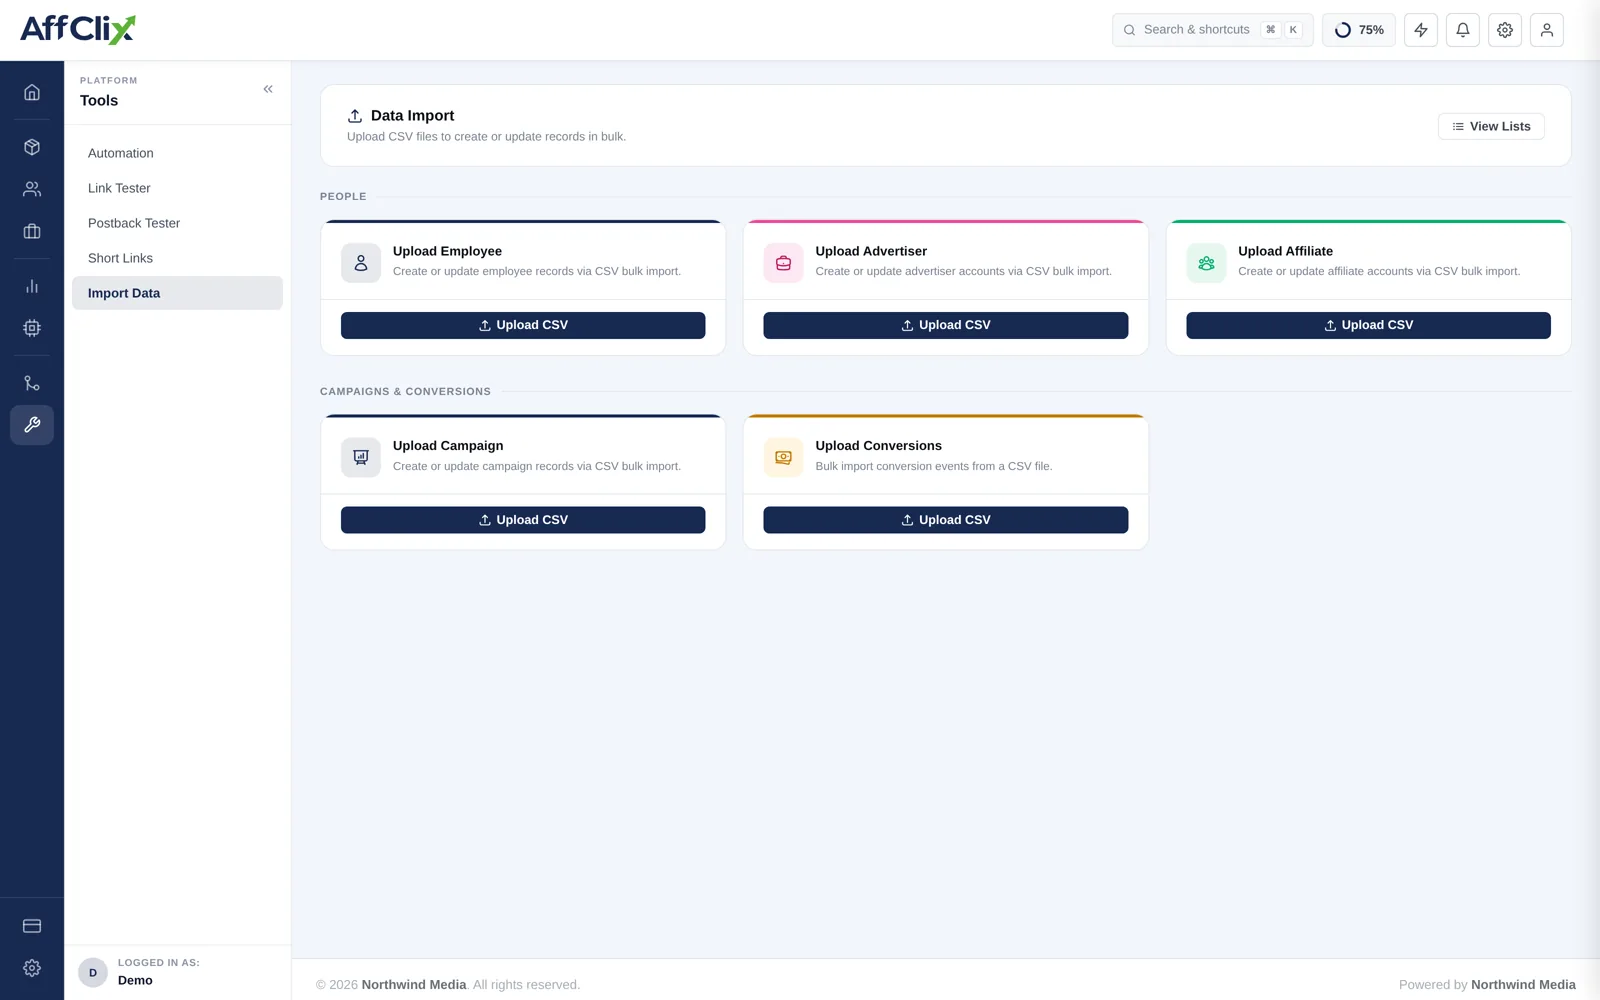
Go to Bulk Import → Data Import and find the Upload Employee card.
Download the CSV template
It carries the exact column names and order the importer expects. Do not build your own file.
Fill it in, leaving the header row untouched
Save as CSV with UTF-8 encoding.
Trial five rows first
Confirm they import correctly before uploading the full file.
Upload, then review under View Lists
Successful and failed rows are both reported, with a reason per failure.
Column Reference
| Column | Required | Notes |
|---|---|---|
| Required | Their login. Unique per network. | |
| Password | Required | Initial password. |
| First / Last Name | Required | Shown throughout the admin panel. |
| Role | Required | Super Admin, Admin, Accountant, Affiliate Manager, Advertiser Manager, Operational Manager or Custom. |
| Status | Required | Active, Pending or Rejected. |
| Mobile | Optional | With country code. |
| Affiliate Access | Optional | ALL or SELECTED_ONLY. Blank means SELECTED_ONLY for a new member and leaves an existing member unchanged. |
| Advertiser Access | Optional | ALL or SELECTED_ONLY, with the same rule for a blank cell. Include and exclude lists are set afterwards on the member or with Team Access. |
Rules and Validation
Role is the permission grant — check every row
A mistyped role in a spreadsheet can hand Super Admin to someone who should only see reports. Sort the file by role and read that column before uploading. It is the one column where an error is a security incident rather than a data cleanup.
- Data access scoping — which affiliates and advertisers a member may see — is not set by the import. Configure it per member afterwards.
- Import team members before advertisers and affiliates, since those records reference an account manager.
After the Import
Review every assigned role in Team Members.
Set affiliate and advertiser data access for members who should be scoped.
Require a password change on first login.
Confirm nobody has Super Admin who did not need it.