Running the Import
Open Data Import
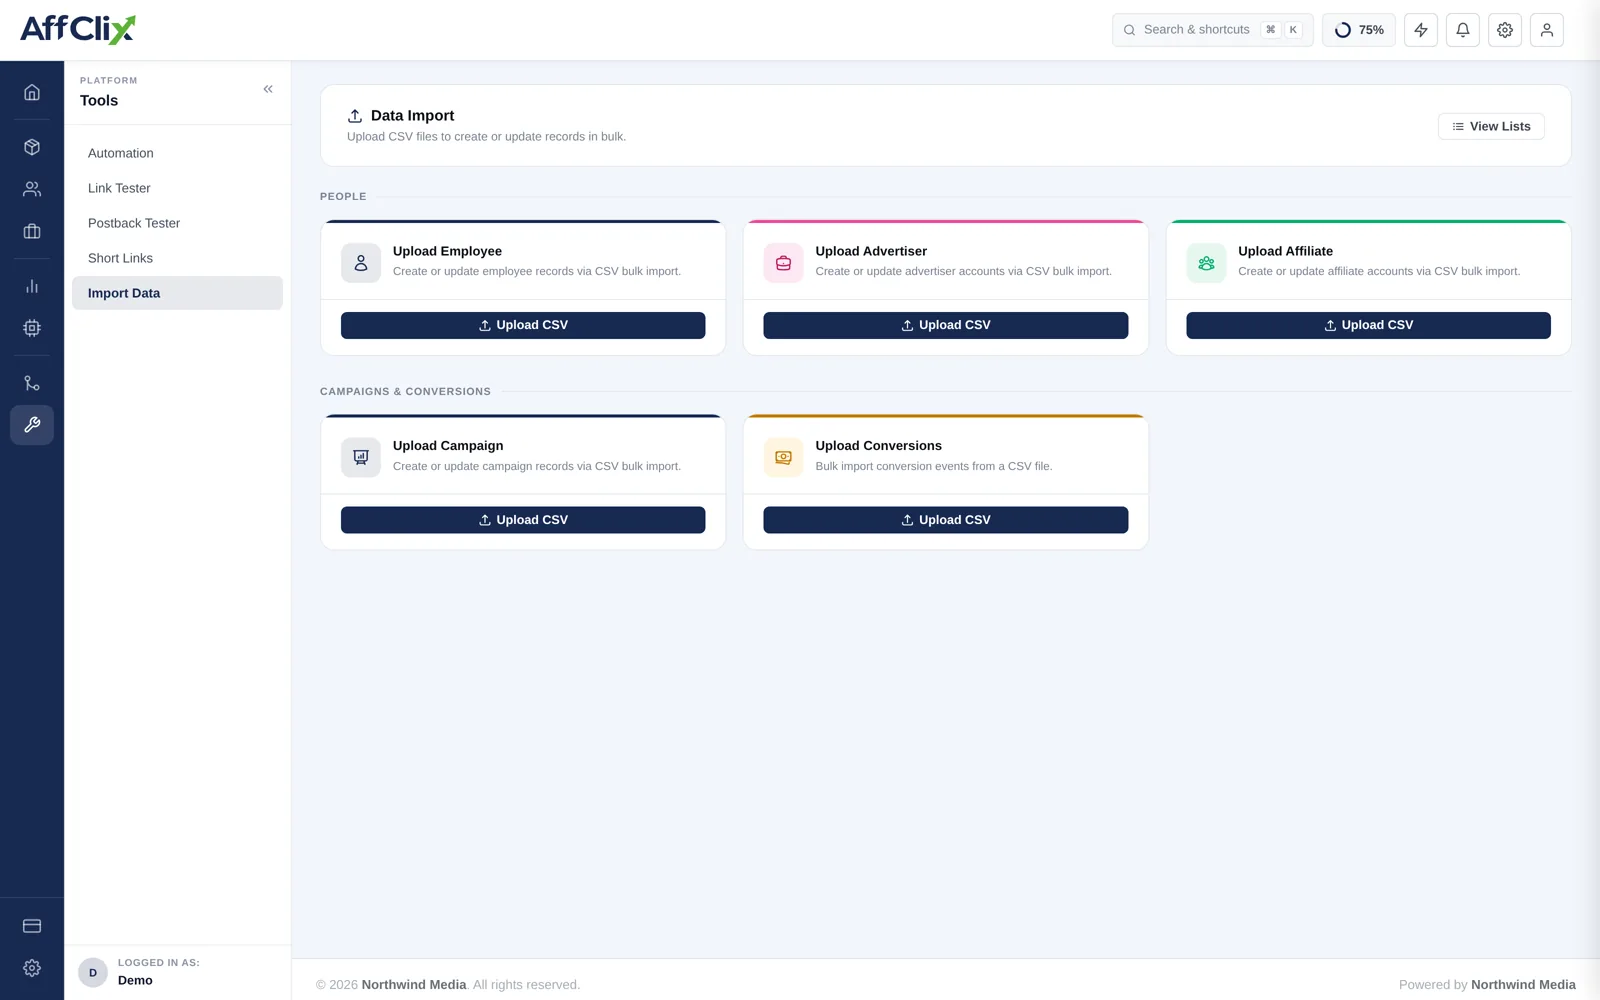
Go to Bulk Import → Data Import and find the Upload Affiliate card.
Download the CSV template
It carries the exact column names and order the importer expects. Do not build your own file.
Fill it in, leaving the header row untouched
Save as CSV with UTF-8 encoding.
Trial five rows first
Confirm they import correctly before uploading the full file.
Upload, then review under View Lists
Successful and failed rows are both reported, with a reason per failure.
Column Reference
| Column | Required | Notes |
|---|---|---|
| Required | Portal login. Must be unique across your network. | |
| Password | Required | Initial portal password. |
| First / Last Name | Required | Your day-to-day contact. |
| Status | Required | Active, Pending or Rejected. |
| Company | Optional | The entity you contract and invoice. |
| Website | Optional | Their main property. |
| Mobile Number | Optional | Include the country code. Format the column as text. |
| Account Manager | Optional | Must already exist — import team members first. |
Rules and Validation
Importing as Active opens your inventory immediately
Every imported affiliate marked Active can run every Public campaign the moment the file lands. On a migration where you have not re-vetted the roster, import as Pending and activate deliberately.
- Duplicate email addresses fail the row — the address is the unique key.
- An account manager who does not exist fails the row. Import team members first.
- Affiliate IDs are newly issued and will not match your previous platform.
After the Import
Review failed rows under View Lists and re-upload only those.
Grant campaign access — imported affiliates are not automatically approved on Private campaigns.
Reissue tracking links; the old platform's links will not work.
Apply any negotiated rates as payout rules.
Send portal credentials over a channel separate from the email address itself.