Overview
AffClix is a multi-tenant affiliate tracking platform. As a network operator, you sit between advertisers (who own the offers) and affiliates (who drive the traffic). AffClix tracks every click and conversion, handles postback delivery to your advertisers, and pays out your affiliates based on the rules you configure.
The five steps in this guide follow the natural setup order:
- Configure your account and tracking domain
- Add your first advertiser
- Create a campaign with a tracking URL
- Onboard your first affiliate and share a tracking link
- Monitor performance and optimise
You will need: your advertiser's postback URL (or S2S pixel URL) and destination landing page URL, and the login details for at least one test affiliate. If you don't have real advertisers yet, you can follow the steps with placeholder values and update them later.
Step 1 — Sign Up & Configure Your Domain
Create Your Account
Go to affclix.com and sign up. You'll receive a verification email — click the link inside to activate your account. Your network gets a default subdomain: yourname.affclix.com.
Add a Custom Tracking Domain (Recommended)
Go to Integrations → Custom Domains and add your tracking subdomain (for example track.yournetwork.com). Then, with your DNS provider, add the TXT and CNAME records shown on that page and click Verify DNS. The SSL certificate is set up for you once both records are found.
Using your own domain prevents ad blockers from blocking tracking links and ensures all affiliate-facing URLs reflect your brand.
Configure SMTP for Branded Emails
Go to Settings → Email Settings and connect your mail server (or Gmail, Microsoft 365 or Zoho). Platform emails such as welcome emails, invoices and password resets then come from your own domain. Click Send Test Email to check it works.
Set Your Timezone
Go to Settings → Platform Settings → Regional and set your network's timezone. It is used for report dates, invoice dates and campaign schedules.
After Step 1: You have a verified custom tracking domain with SSL, branded emails are sending from your domain, and your timezone is set.
Step 2 — Add Your Advertisers
An advertiser in AffClix represents the company whose offer you are promoting. Each campaign belongs to one advertiser. Advertisers can optionally have their own login to view reports, but this is not required.
Create an Advertiser Account
Navigate to Advertisers → Create Advertiser. Fill in the company name, contact email, and billing currency. You can optionally create login credentials if the advertiser needs self-service access to their performance data.
Set the Postback IP Whitelist
On the Advertiser → Postback Settings tab, add the IP addresses the advertiser's server will fire postbacks from. This prevents unauthorised conversion submissions from unknown IPs.
Ask your advertiserYour advertiser must provide the IP(s) their tracking server fires postbacks from. A missing or wrong IP whitelist entry is the most common reason conversions don't track.
Note the Advertiser Postback URL
AffClix generates a postback URL for your advertiser to send conversion notifications to. Find it on the Advertiser detail page. It looks like:
https://track.yournetwork.com/pb?click_id={click_id}&event={event_id}&payout={payout}Share this URL with your advertiser — they will fire it server-to-server whenever a conversion occurs.
After Step 2: You have an advertiser record in AffClix with their IP whitelist set, and they have your postback URL ready to configure on their side.
Step 3 — Create Your First Campaign
A campaign is the container for a single offer. It holds the destination URL, payment model, targeting rules, and payout structure. Every tracking link generated in AffClix is tied to a campaign.
Basic Info
Campaigns → Create Campaign. Fill in:
- Campaign Name — Descriptive, e.g. "Acme VPN — US iOS Install"
- Advertiser — Select the advertiser you created in Step 2
- Vertical / Category — Helps organise campaigns in reports
- Status — Set to Active when ready to go live; leave as Pending during setup
Campaign URL with Macros
Enter the advertiser's landing page or offer URL in the Campaign URL field. Use macros to pass tracking parameters:
https://landing.advertiser.com/offer?aff_id={affiliate_id}&click_id={click_id}&country={country}&device={device_type}The most important macro is {click_id} — this is the unique identifier AffClix uses to match the postback conversion back to the originating click. Always include it.
Payment Model
Select the conversion goal type:
Model Pay When CPA A specific action (purchase, registration, deposit) CPL A lead form is submitted CPS A sale is completed (% of sale value) CPI An app is installed CPC Each click (not recommended for high-volume campaigns) Revenue & Payout
Set the Revenue (what the advertiser pays you per conversion) and Payout (what you pay affiliates). Payout must be ≤ Revenue to avoid margin loss.
Example:
- Revenue: $12.00 per install
- Payout: $9.00 per install
- Margin: $3.00
Schedule (Optional)
Set start and end dates if the offer has a fixed validity window. Campaigns past their end date are automatically set to Ended status and stop accepting traffic.
Test the Campaign URL
Before inviting affiliates, use the Link Tester (Tools → Link Tester) to verify the redirect chain. Enter the campaign tracking URL and run a test from the expected traffic country and device type.
After Step 3: Your campaign is created with a working tracking URL, correct payout values, and a verified redirect chain.
Step 4 — Add Affiliates & Share Tracking URLs
Affiliates are the traffic partners who will promote your campaigns. Each affiliate gets their own unique tracking URL for each campaign they are approved for.
Create an Affiliate Account
Navigate to Affiliates → Create Affiliate. Enter the affiliate's company name, contact details, and payment information. Set their status to Active.
Or let affiliates sign up themselves: under Settings → Platform Settings → Affiliate Portal → Signup & Portal, allow sign-ups, and then approve new affiliates from Affiliates → Pending Affiliates.
Assign the Affiliate to the Campaign
Open the campaign → Affiliates tab → Add Affiliate. Find the affiliate by name and set their access to Approved. You can optionally set an affiliate-specific payout override here to override the campaign default for this affiliate only.
Generate and Share the Tracking URL
Go to Affiliates → [Affiliate Name] → Generate Tracking URL, or use the URL shown on the Campaign → Affiliates tab. The affiliate-specific tracking URL looks like:
https://track.yournetwork.com/click?c={campaign_id}&a={affiliate_id}&sub1={REPLACE_ME}Share this URL with the affiliate. They embed it in their traffic source. The {REPLACE_ME} placeholder in sub1 should be replaced with their own sub-ID for granular tracking.
Run a Postback Test
Use the Postback Tester (Tools → Postback Tester) to simulate an end-to-end conversion. Enter the affiliate's tracking URL and run the test. Verify that the postback_status shows delivered in the trace results.
After Step 4: The affiliate has their tracking URL, and a test postback has confirmed the full tracking pipeline is working end-to-end.
Step 5 — Monitor & Optimise
Once traffic is flowing, AffClix gives you a real-time view into every click, conversion, and payout. Here are the key areas to monitor:
Dashboard KPIs
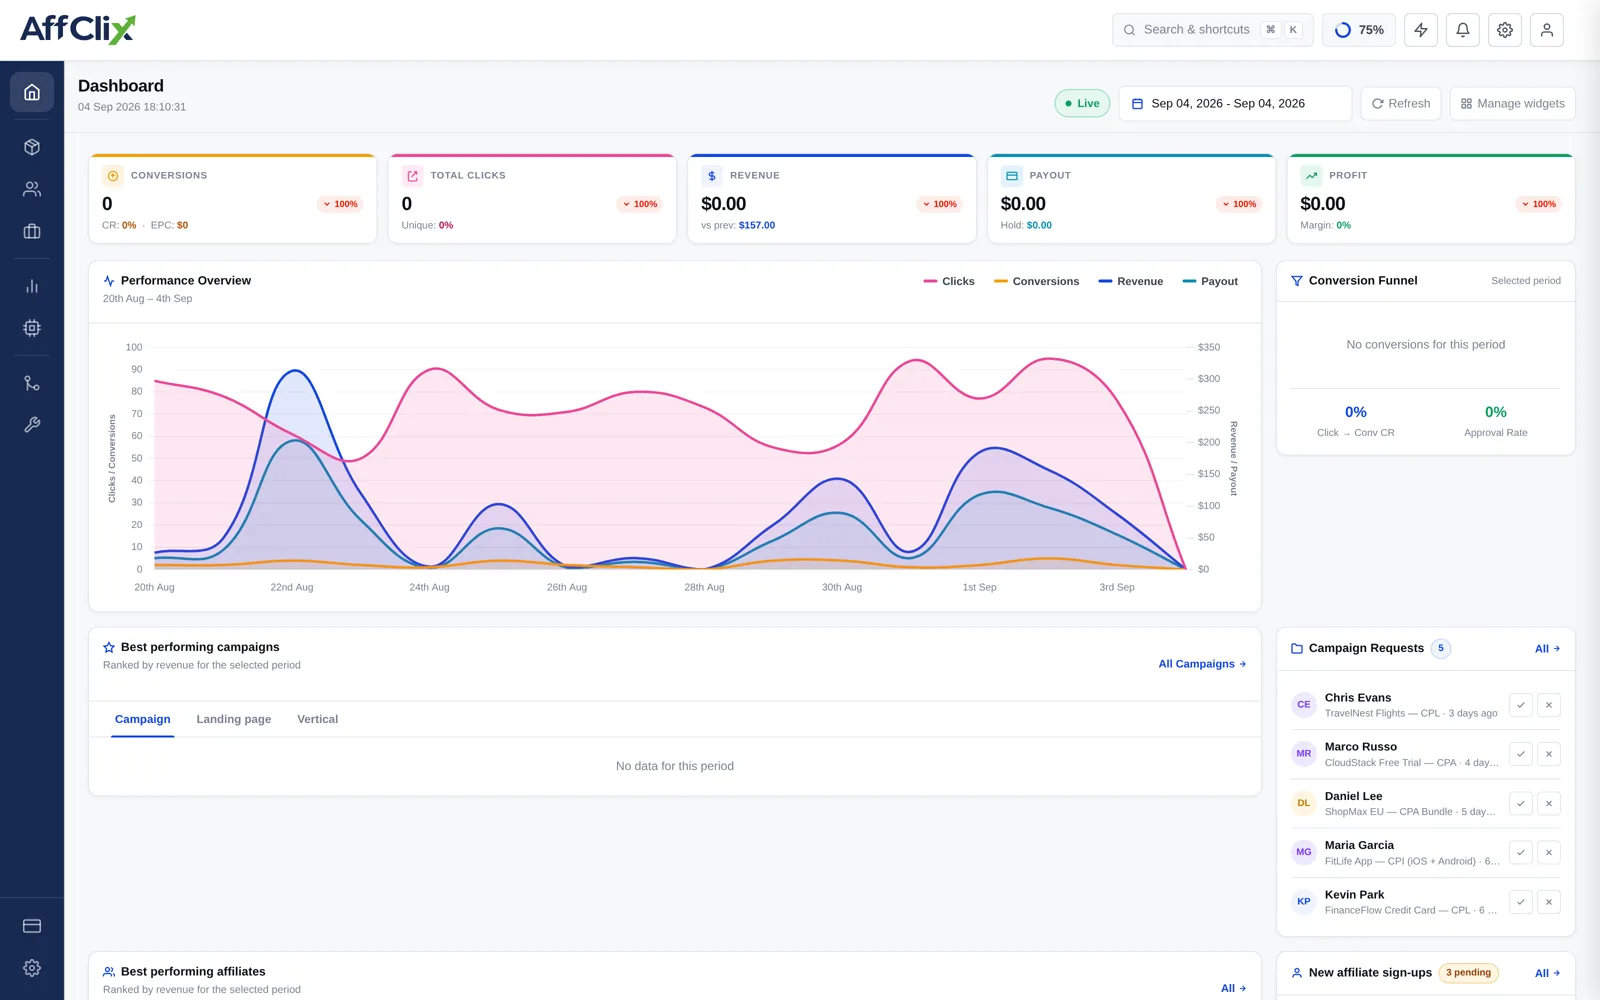
The main dashboard shows today's and this week's Clicks, Conversions, Revenue, and Payout in the KPI bar. Use this as your daily health check. A sudden drop in CR% often signals a broken redirect chain or advertiser offer issue.
Performance Report
Open Reports → Daily Report. Use the column templates to switch between views (Campaign, Affiliate, Advertiser, Event or iGaming), and filter by affiliate to look at one partner's traffic. Click Export XLSX when you need to reconcile with an advertiser.
Fraud Protection Review
Once fraud protection is on, open Reports → Fraud Logs. It shows which affiliates send flagged traffic and which fraud rules fire most often. If an affiliate's traffic is mostly high-risk, check their traffic source before you pay out.
Smart Campaigns for Traffic Routing
Once you have multiple campaigns running, create a Smart Campaign to give affiliates a single URL that automatically routes to the best-performing offer. Use the Performance algorithm to let AffClix optimise allocation automatically, or use Weighted splits for controlled A/B testing.
Conversion Caps & Budgets
As volume grows, use Campaign → Capping to set daily, weekly, or monthly conversion caps per affiliate or globally. This prevents overspend on budgeted campaigns and protects advertiser commitments.
Congratulations — your AffClix network is up and running. Your affiliate is sending traffic, conversions are being tracked, and you can monitor everything in real time. Explore the other Help Center articles to deepen your knowledge of specific features.